Prerequisites
- Administrator permissions on the Oleria workspace.
- Administrator permissions on the machine where PingDirectory will be installed.
- Administrative access within PingDirectory to create a user.
- If PingDirectory is hosted on one machine and the agent is deployed on another, ensure that both VMs can communicate with each other without any firewall restrictions blocking the connection.
Create a Service Account in Ping Directory
This process involves creating an LDIF file to define the new service account and its permissions, then using theldapmodify command to apply these changes to the directory.
1
Create the LDIF file
An LDIF (LDAP Data Interchange Format) file is a plain text file containing instructions for adding, deleting, or modifying entries in an LDAP directory. The file you’ll create,
create_readonly_user.ldif, will:- Create the service account - a new user entry with UID
readonlyoleriauserand common nameRead Only User, using theinetOrgPersonobject class. - Assign read-only access - an ACI (Access Control Instruction) granting the
readonlyoleriauseraccount read and search permissions on all attributes within the entire directory subtree.
<replace-with-your-base-dn> with your directory’s base distinguished name (e.g., dc=example,dc=com) and Oleria@5 with a secure password.2
Execute the LDAP Modify command
After creating the LDIF file, use the
ldapmodify command-line tool to apply the changes to your Ping Directory instance. Open a command prompt, navigate to the bat directory inside your Ping Directory installation, and run the following command as a single line:-
<hostname>- the hostname or IP address of your Ping Directory server -
"cn=Directory Manager"- the DN of the administrative user (the default administrative user) -
<password>- the password for the administrative user -
<file-path>- the path to the LDIF file you created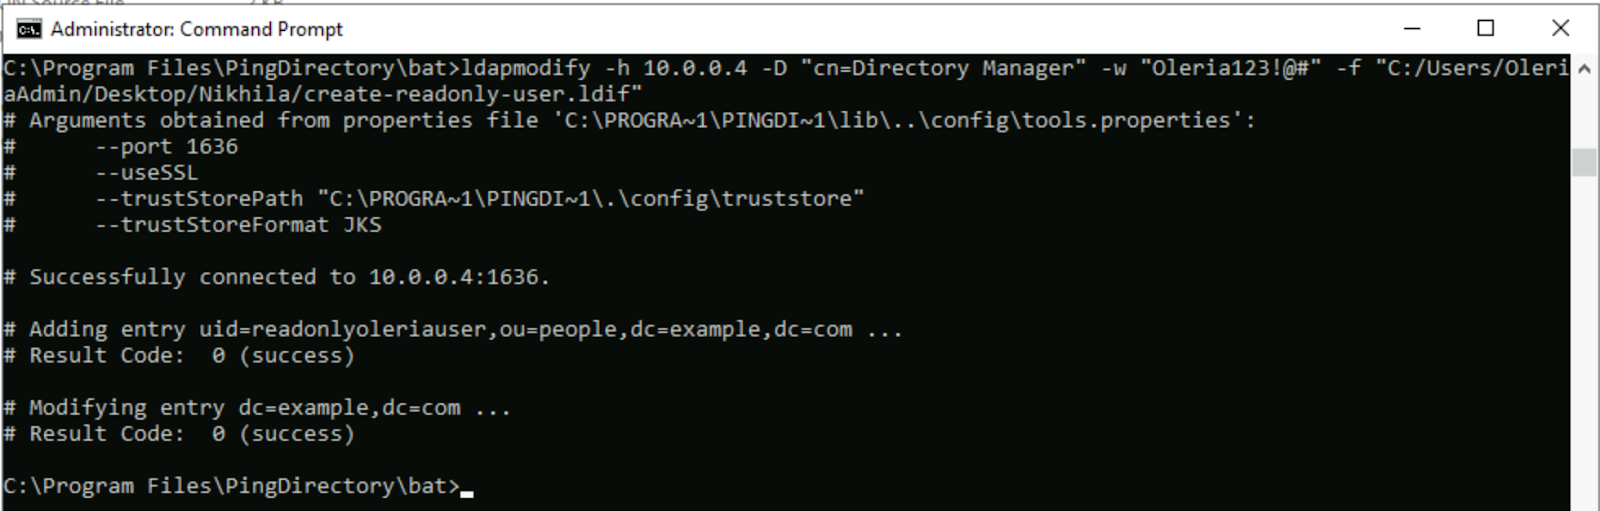
Configure the Syslog-Based Log Forwarder
This step uses thedsconfig command-line utility to configure a syslog-based log forwarder in Ping Directory. This forwards directory logs to a centralized log management system like Fluentd for monitoring and analysis.
Open a command prompt, navigate to the Ping Directory installation’s bat directory, and run the following command as a single line. Replace <IP-ADDRESS-OF-AGENT-MACHINE> with the IP address of the machine where the agent is running.
Integrate Ping Directory with Oleria
1
Open the integration
Log in to your Oleria workspace and select Workspace → Integrations → Ping Directory.
2
Name your agent
Provide a name for your agent and select Continue.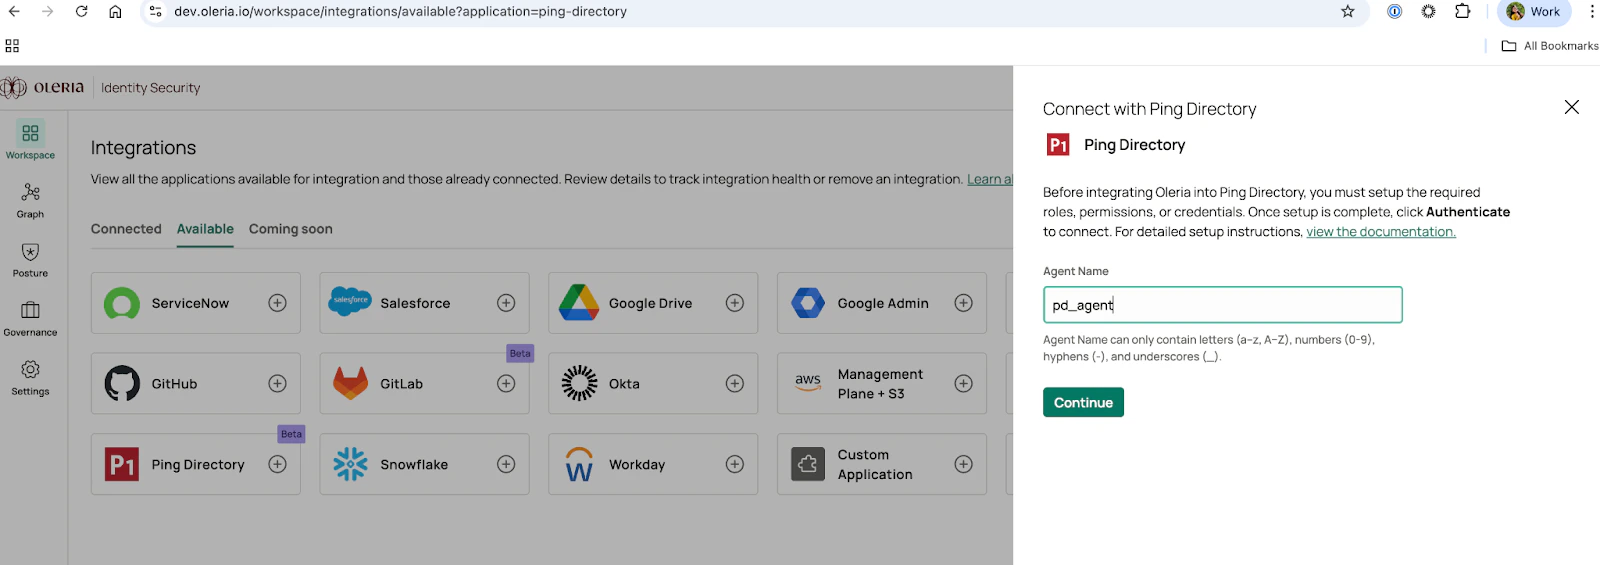
3
Copy the installation script
You will see a PowerShell script with a copy option. Copy and execute this script on the server where you want to install the Oleria PD Agent.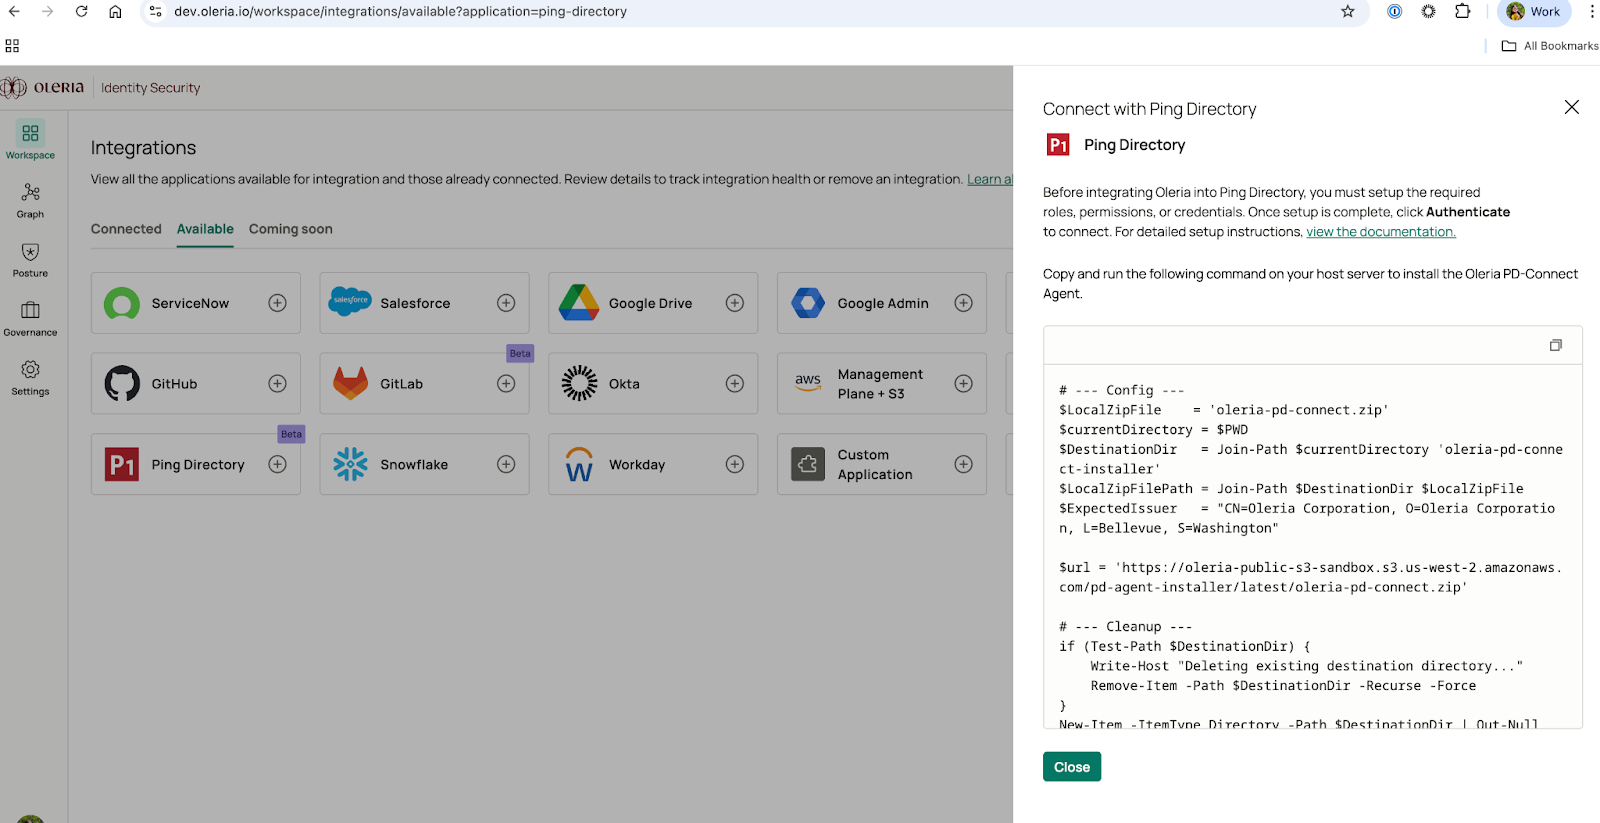
Install the Oleria PD Agent
1
Run the installation script
Log in to the machine, open PowerShell with administrator privileges, and run the script copied from the previous section.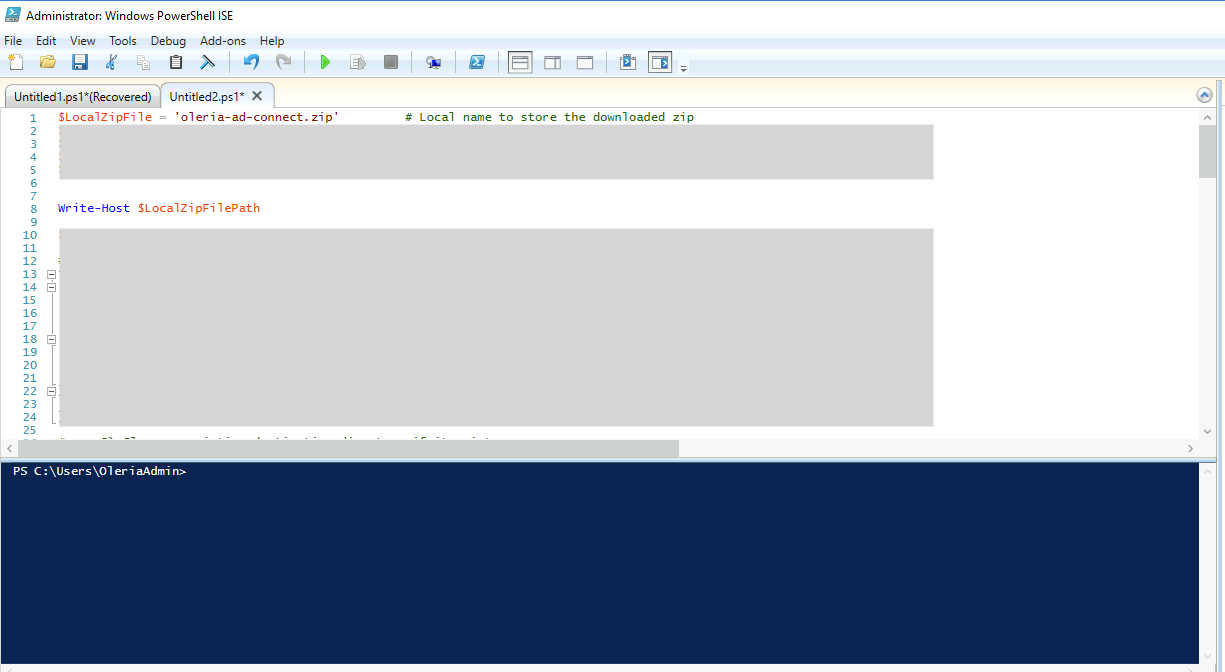
2
Install Fluentd
You will see the Fluentd installation process. Accept the license terms and select Next.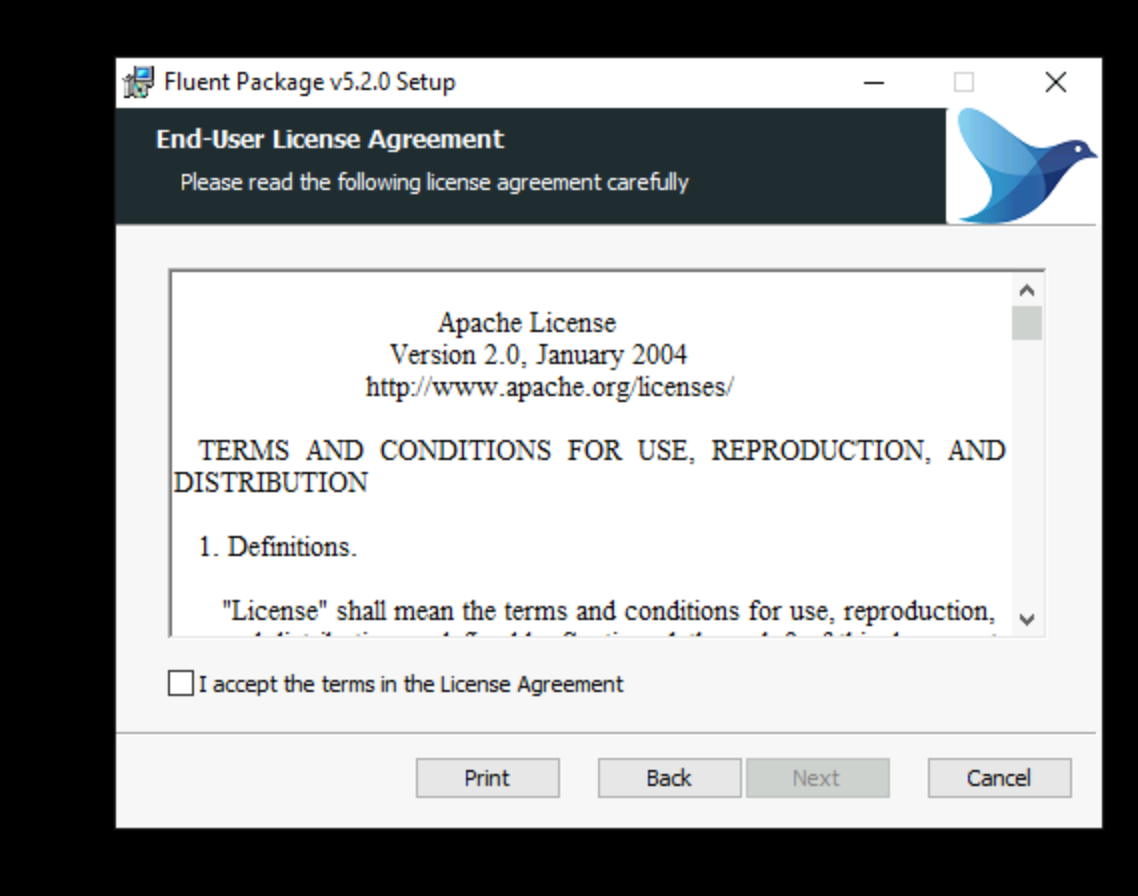
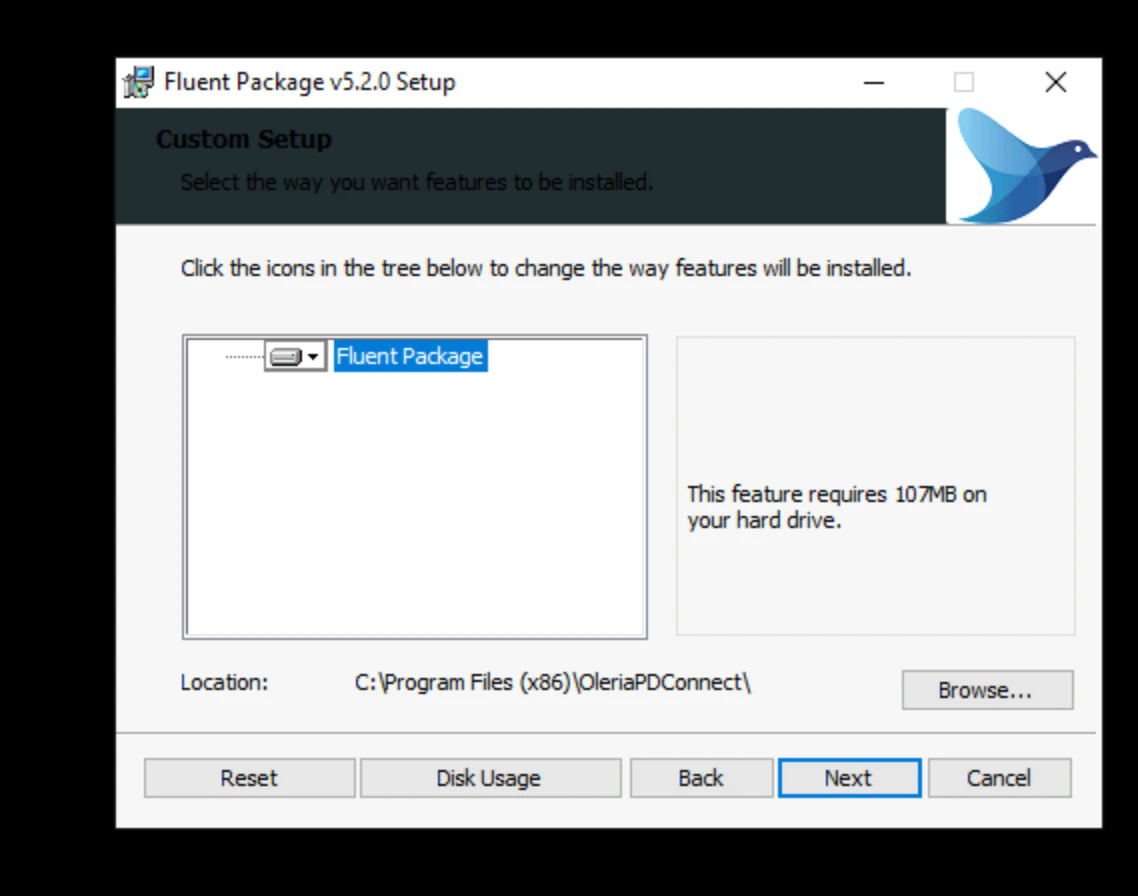
3
Install the Oleria PD Agent
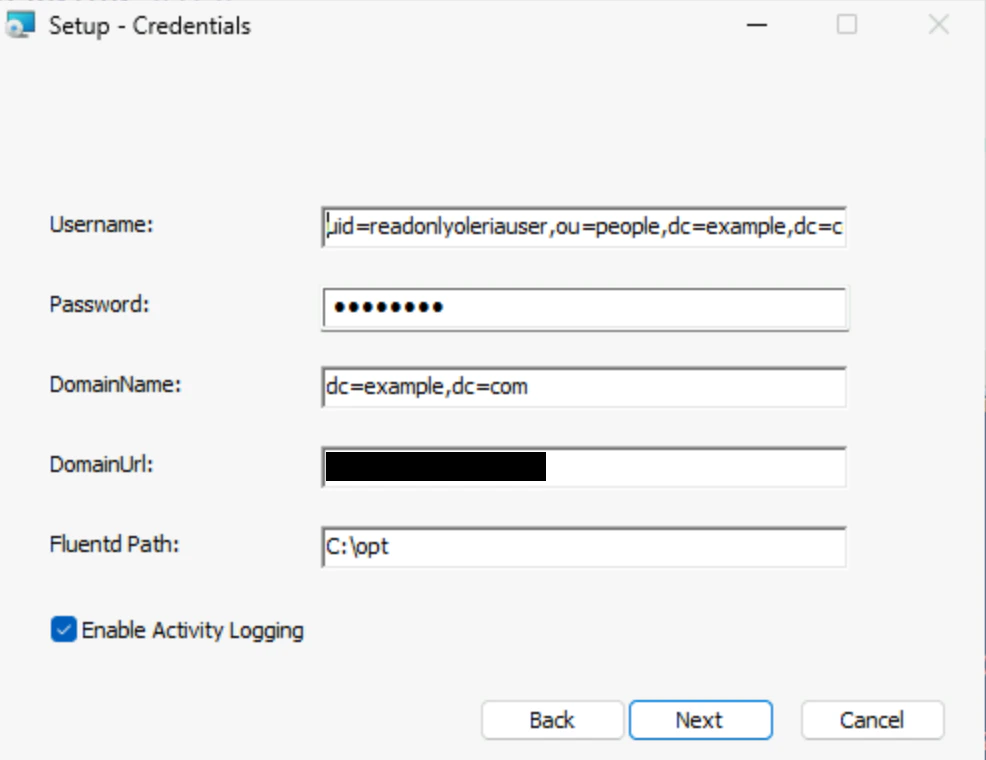
Accept the license terms and select Next.On the next page, provide the following:
- Username - the service account name created above
- Password - the service account password
-
DomainName - your domain name (for example, if your domain is
example.local, providedc=example,dc=local) - DomainUrl - your domain controller IP address
- Fluentd Path - the path where you installed Fluentd in the previous step
-
Activity Enabled Checkbox - enable this only if Fluentd is installed and its path has been correctly provided
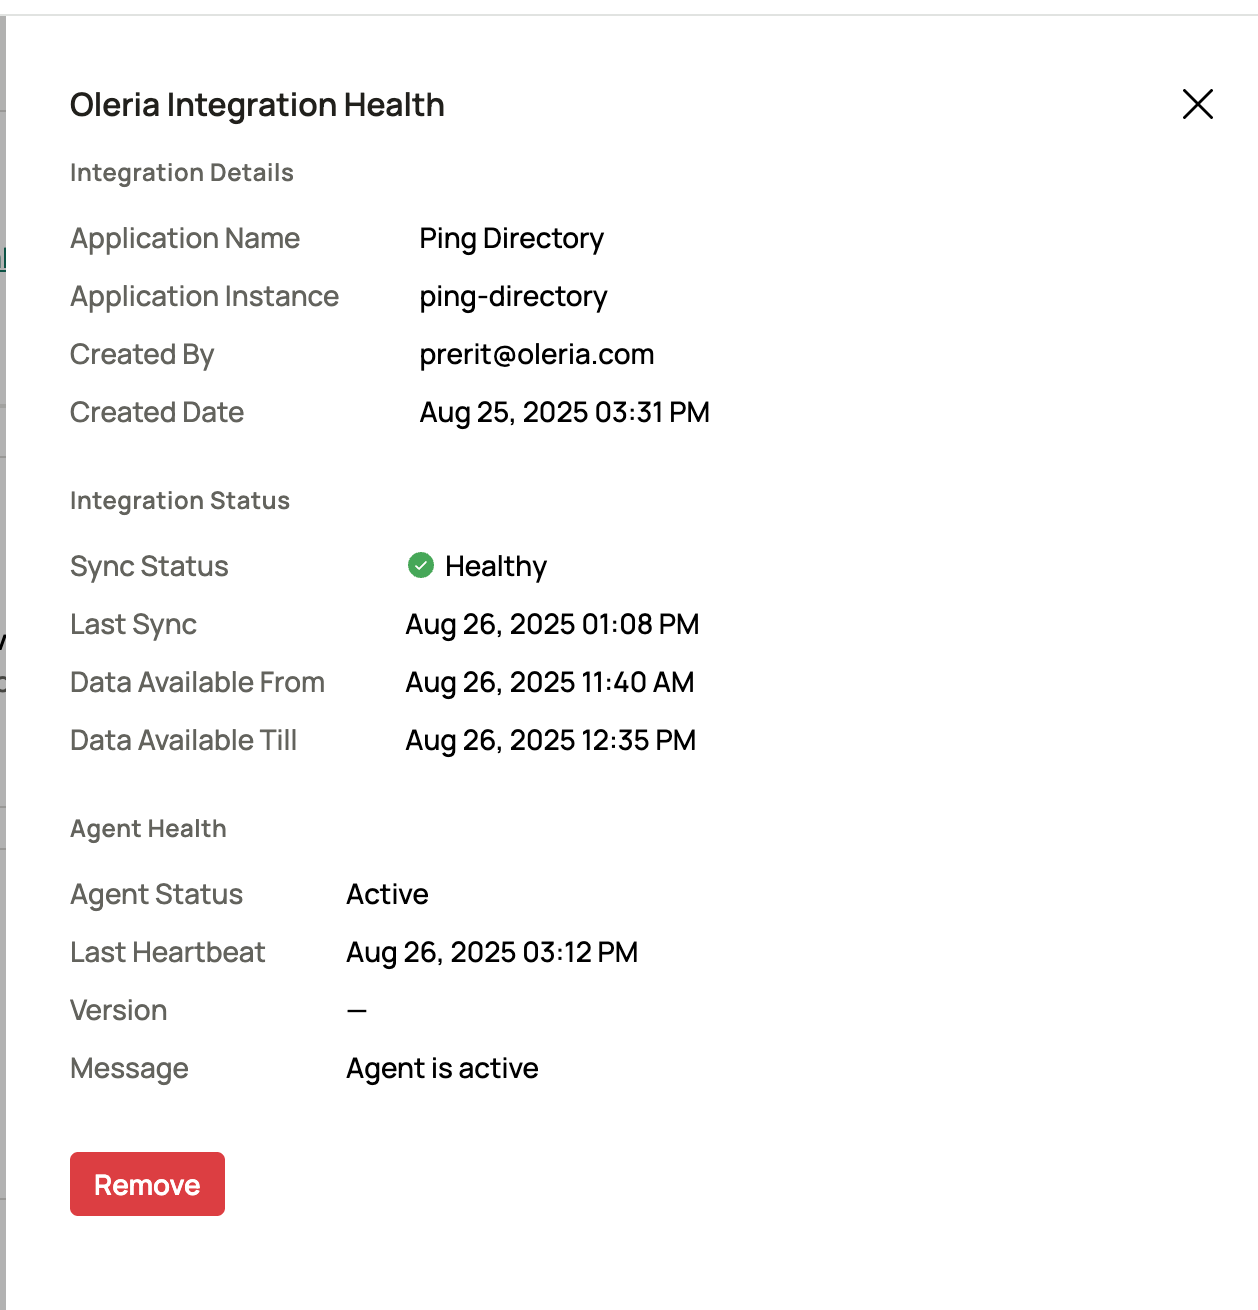
Verify the Integration
Log in to your workspace → Connected Integrations → Ping Directory → select View Details to open the side pane and view the agent health status.