Prerequisites
- Administrator permission on the Oleria workspace
- An Active Directory Domain Joined (ADDJ) machine to install the Oleria AD Agent
- Administrator permissions on the ADDJ machine
Create a Service Account in Active Directory
Create an Active Directory Service Account and grant read-only permissions.1
Create a new user
Log in to Active Directory and create a new user, for example, Oleria Read Admin.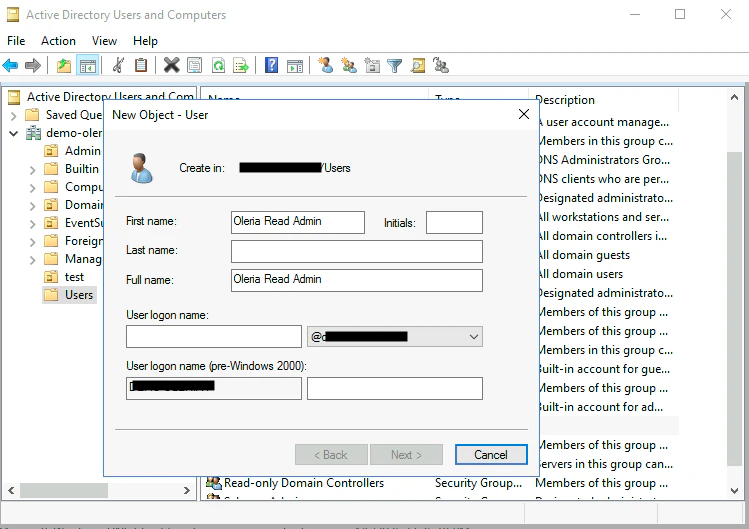
2
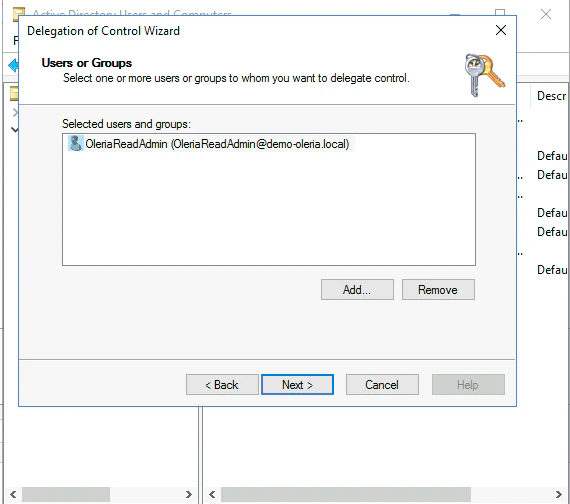
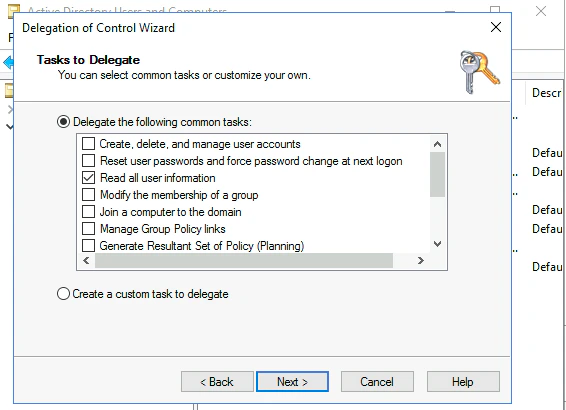
Delegate control
Open your AD Domain and select Delegate Control.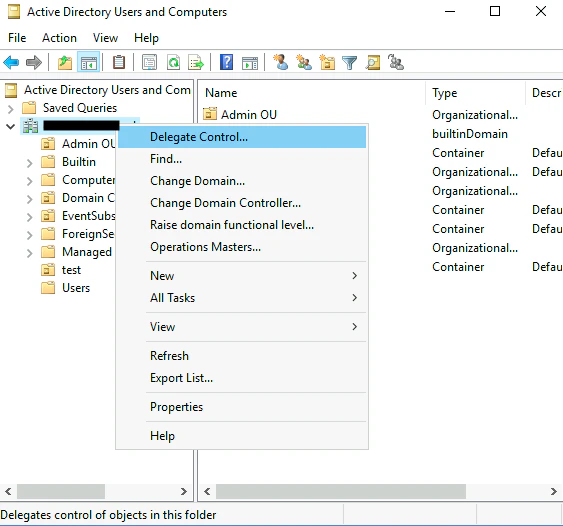
- Read all user information
-
Read all inetOrgPerson information
3
Verify group membership
The account will be automatically added to the Domain Users group. Open the Domain Users group to verify the service account.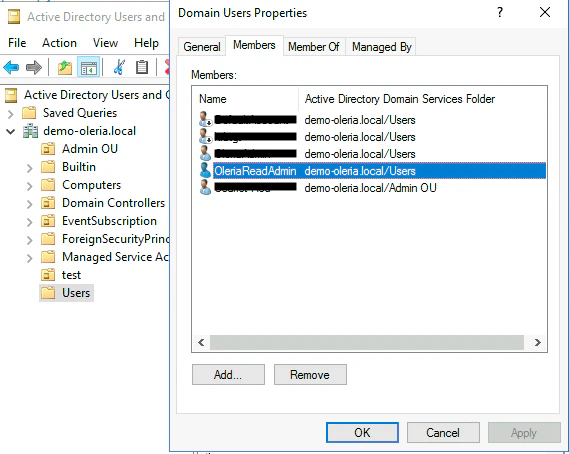
4
Add to Read-only Domain Controllers
Add the user to the Read-only Domain Controller group.
Configure Event Forwarding
Follow Microsoft Documentation to configure Windows event forwarding.Integrate Active Directory with Oleria
1
Open the integration
Log in to your Oleria workspace and select Workspace → Integrations → Active Directory.
2
Name your agent
Provide a name for your agent and select Continue.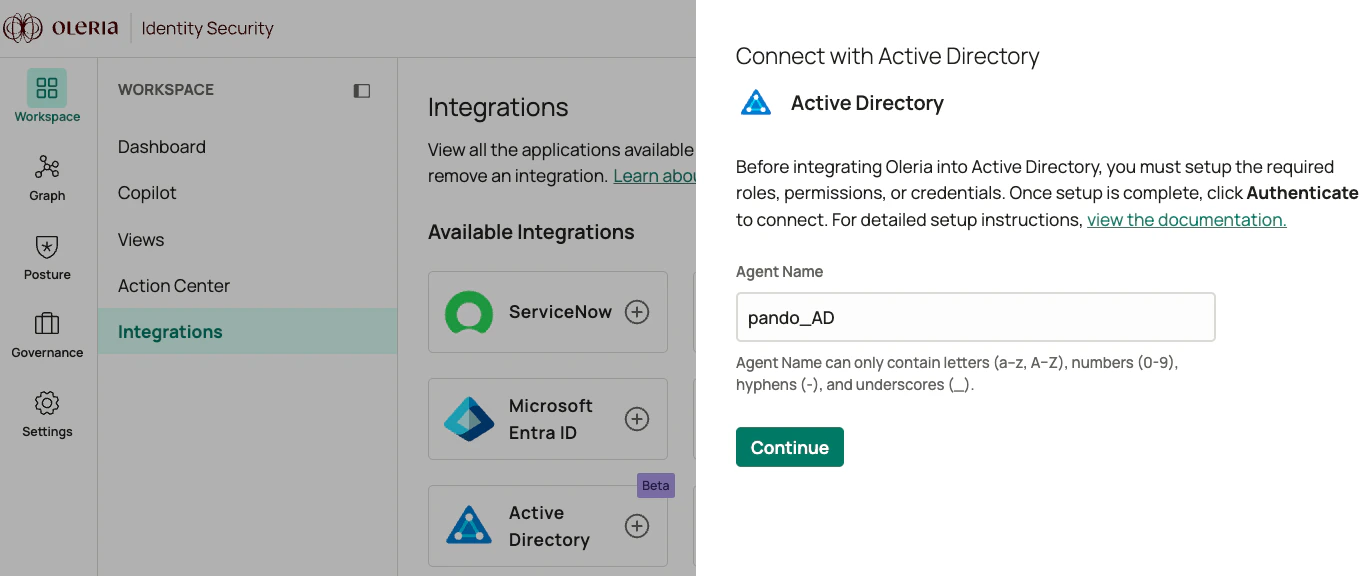
3
Copy the installation script
You will see a PowerShell script with a copy option. Copy and execute this script on a member (domain-joined) server where you want to install the Oleria AD Agent.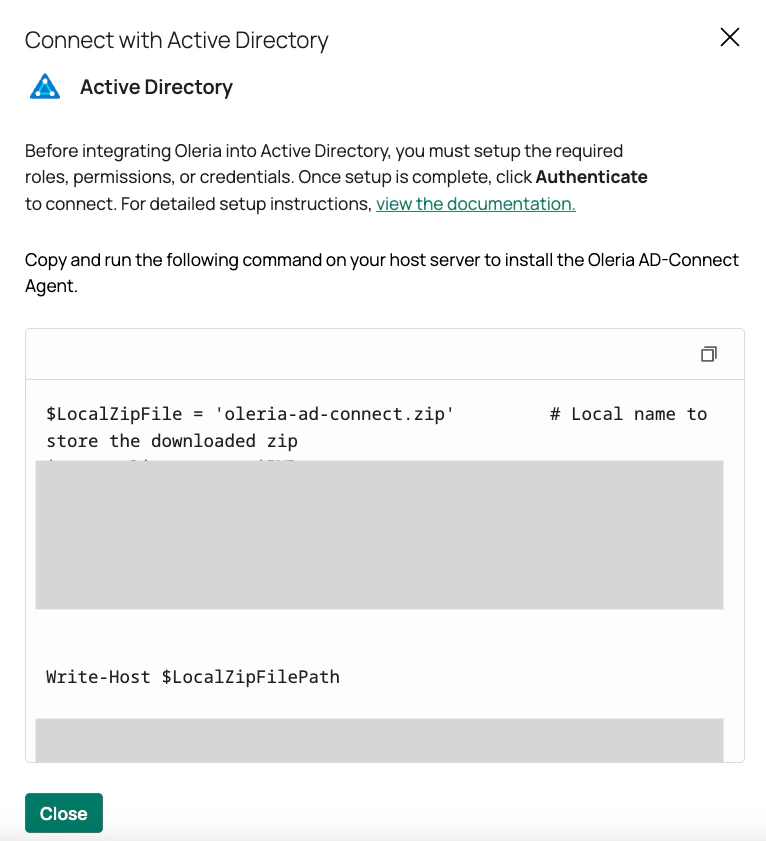
Install the Oleria AD Agent
1
Run the installation script
Log in to the ADDJ machine, open PowerShell with administrator privileges, and run the script copied from the previous section.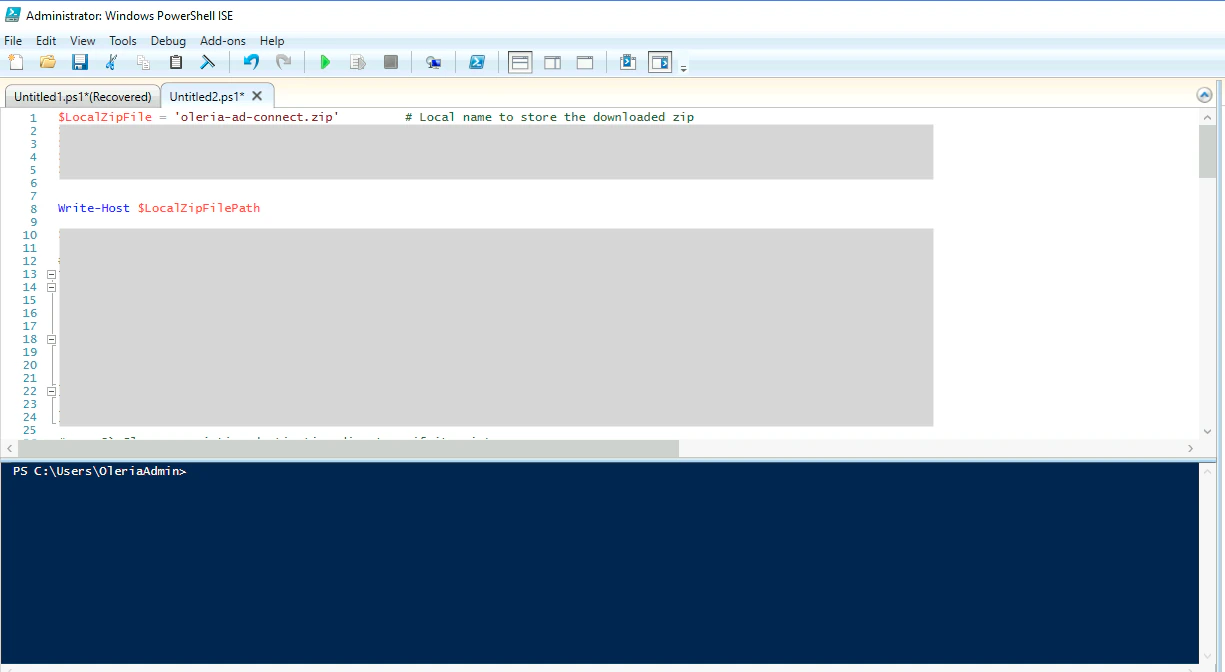
2
Accept the license terms
You will see the Oleria AD Agent installation process. Accept the license terms and select Next.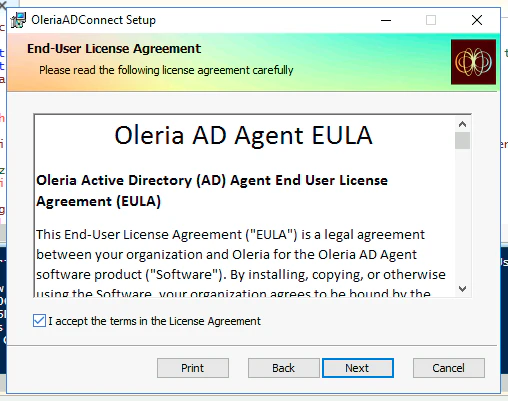
3
Provide the service account details
On the next page, provide the following: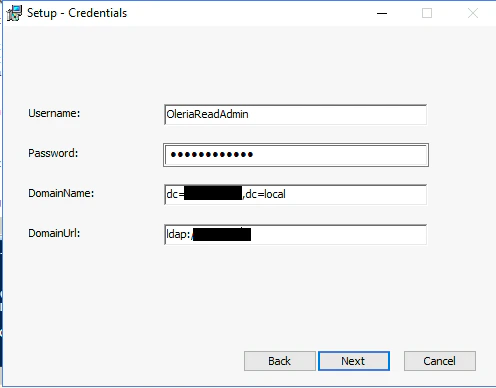
- Username - the service account name created above
- Password - the service account password
- DomainName - your domain name (for example, if your domain is
example.local, providedc=example,dc=local) - DomainUrl - your domain controller IP address
4
Confirm installation
Once the installation is completed, you will see an OleriaADConnectAgent service in the services list.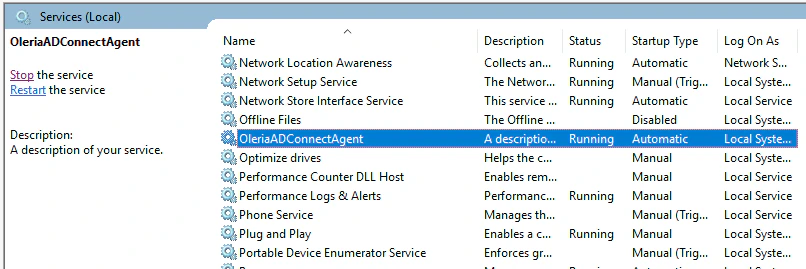
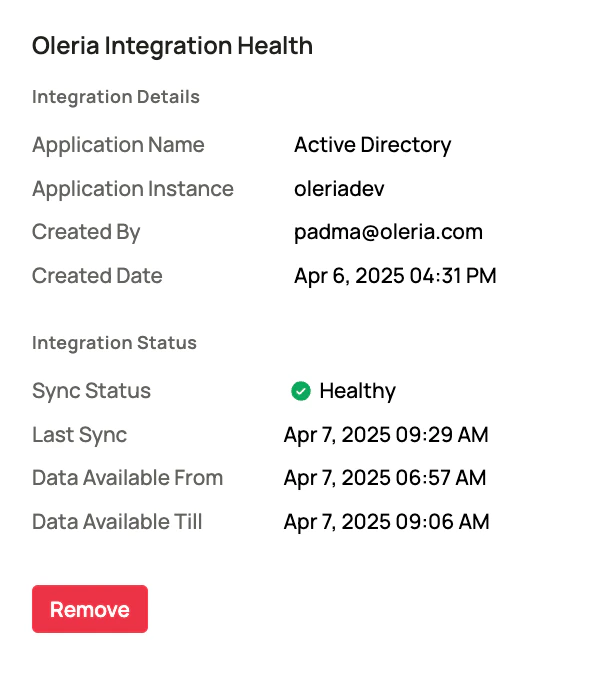
Verify the Integration
Log in to your workspace → Connected Integrations → Active Directory → select View Details to open the side pane and view the agent health status.