> ## Documentation Index
> Fetch the complete documentation index at: https://docs.oleria.com/llms.txt
> Use this file to discover all available pages before exploring further.
# Ping Directory
Oleria provides identity security and access management teams with visibility and intelligence into who has access to what, where they got that access, how they use it, and whether they should even have it. As part of that promise, we deeply integrate your Ping Directory into the Oleria platform. Follow these steps to integrate Ping Directory with your Oleria workspace.
## Prerequisites
1. Administrator permissions on the Oleria workspace.
2. Administrator permissions on the machine where PingDirectory will be installed.
3. Administrative access within PingDirectory to create a user.
4. If PingDirectory is hosted on one machine and the agent is deployed on another, ensure that both VMs can communicate with each other without any firewall restrictions blocking the connection.
## Create a Service Account in Ping Directory
This process involves creating an LDIF file to define the new service account and its permissions, then using the `ldapmodify` command to apply these changes to the directory.
An **LDIF** (LDAP Data Interchange Format) file is a plain text file containing instructions for adding, deleting, or modifying entries in an LDAP directory. The file you'll create, `create_readonly_user.ldif`, will:
* **Create the service account** - a new user entry with UID `readonlyoleriauser` and common name `Read Only User`, using the `inetOrgPerson` object class.
* **Assign read-only access** - an ACI (Access Control Instruction) granting the `readonlyoleriauser` account read and search permissions on all attributes within the entire directory subtree.
Replace `` with your directory's base distinguished name (e.g., `dc=example,dc=com`) and `Oleria@5` with a secure password.
```ldif theme={null}
# 1. Create the Service Account "readonlyoleriauser"
dn: uid=readonlyoleriauser,
changetype: add
objectClass: inetOrgPerson
objectClass: organizationalPerson
objectClass: person
objectClass: top
uid: readonlyoleriauser
cn: Read Only User
sn: User
userPassword: Oleria@5
# 2. Assign Read-Only Access Control Instruction (ACI)
dn:
changetype: modify
add: aci
aci: (target="ldap:///")(targetattr="* || +")(targetscope="subtree")(version 3.0; acl "Read access for readonlyoleriauser"; allow (read,search) userdn="ldap:///uid=readonlyoleriauser,";)
```
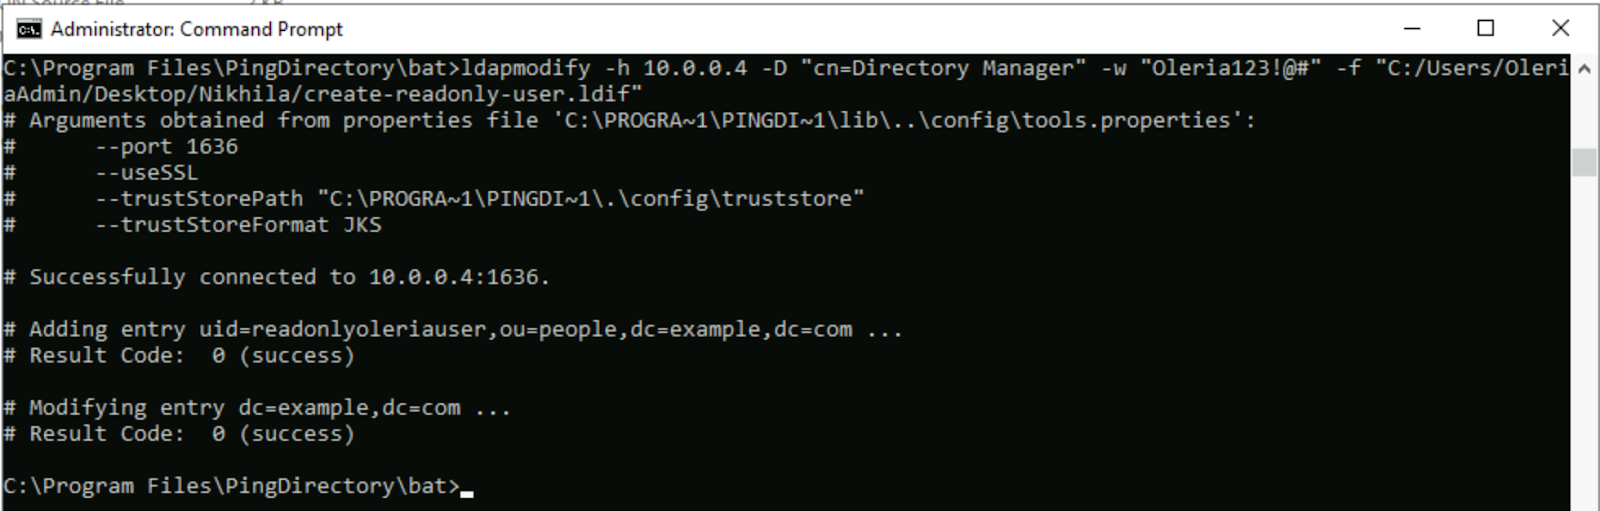
After creating the LDIF file, use the `ldapmodify` command-line tool to apply the changes to your Ping Directory instance. Open a command prompt, navigate to the `bat` directory inside your Ping Directory installation, and run the following command **as a single line**:
```bash theme={null}
ldapmodify -h -p 636 --useSSL --trustAll -D "cn=Directory Manager" -w -f
```
* **``** - the hostname or IP address of your Ping Directory server
* **`"cn=Directory Manager"`** - the DN of the administrative user (the default administrative user)
* **``** - the password for the administrative user
* **``** - the path to the LDIF file you created
## Configure the Syslog-Based Log Forwarder
This step uses the `dsconfig` command-line utility to configure a syslog-based log forwarder in Ping Directory. This forwards directory logs to a centralized log management system like Fluentd for monitoring and analysis.
Open a command prompt, navigate to the Ping Directory installation's `bat` directory, and run the following command as a single line. Replace `` with the IP address of the machine where the agent is running.
```bash theme={null}
dsconfig create-log-publisher --publisher-name "Fluentd Syslog Access Logger Remote" --type syslog-based-access --hostname localhost --port 389 --bindDN "cn=Directory Manager" --no-prompt --set enabled:true --set asynchronous:true --set auto-flush:true --set correlate-requests-and-results:true --set generify-message-strings-when-possible:true --set include-add-attribute-names:true --set include-connection-details-in-request-messages:true --set include-extended-search-request-details:true --set include-instance-name:true --set include-modify-attribute-names:true --set include-product-name:true --set include-replication-change-id:true --set include-request-controls:true --set include-request-details-in-intermediate-response-messages:true --set include-request-details-in-result-messages:true --set include-request-details-in-search-entry-messages:true --set include-request-details-in-search-reference-messages:true --set include-requester-dn:true --set include-requester-ip-address:true --set include-response-controls:true --set include-result-code-names:true --set include-search-entry-attribute-names:true --set include-startup-id:true --set include-thread-id:true --set log-assurance-completed:true --set log-client-certificates:true --set log-connects:true --set log-disconnects:true --set log-intermediate-responses:true --set log-requests:true --set log-results:true --set log-search-entries:true --set log-search-references:true --set log-security-negotiation:true --set suppress-internal-operations:true --set suppress-replication-operations:false --set server-host-name: --set server-port:514 --set syslog-facility:1
```
## Integrate Ping Directory with Oleria
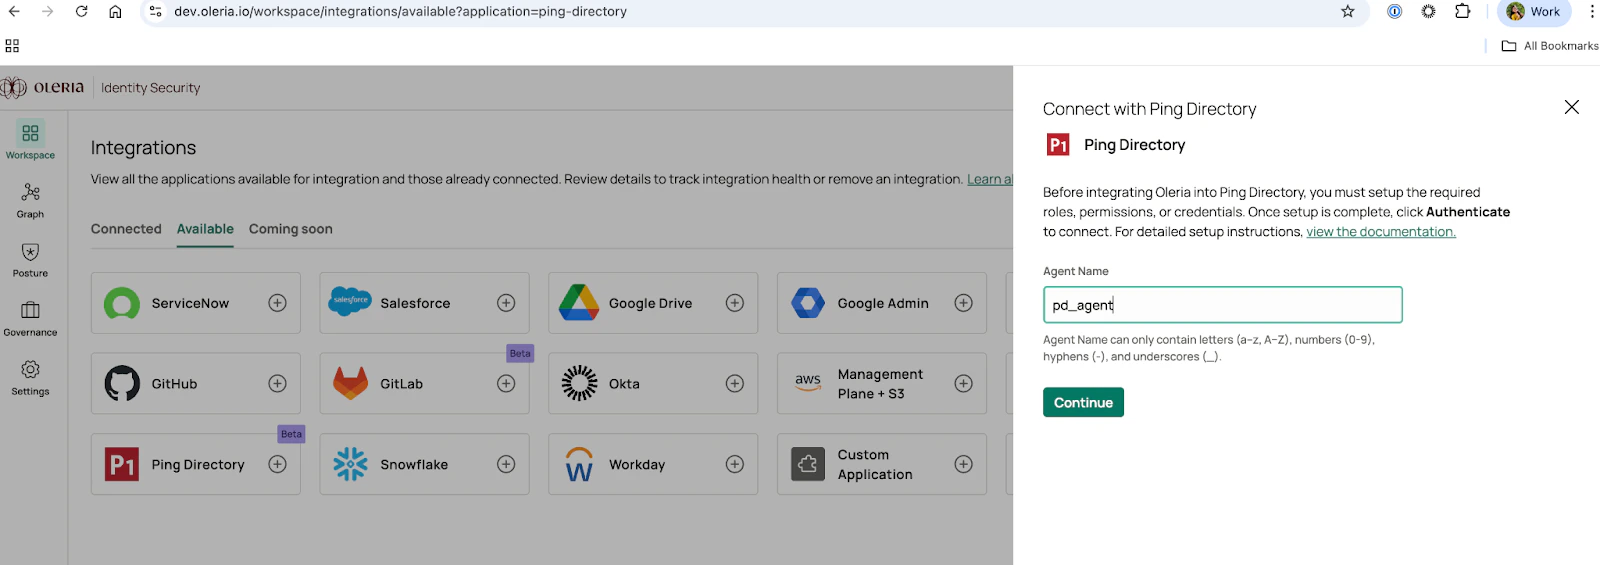
Log in to your Oleria workspace and select **Workspace** → **Integrations** → **Ping Directory**.
Provide a name for your agent and select **Continue**.
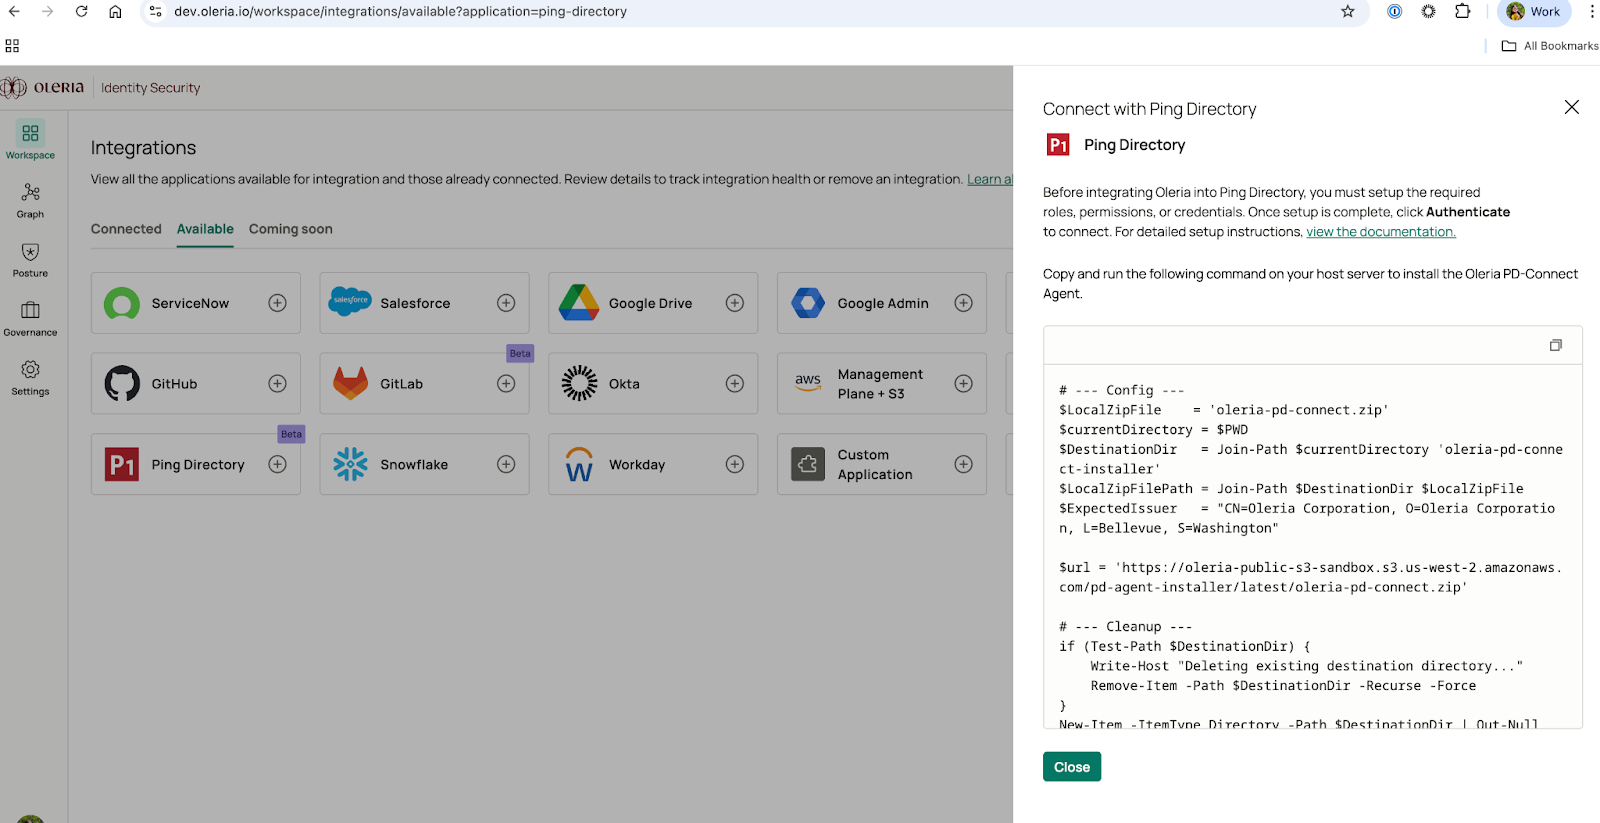
You will see a PowerShell script with a copy option. Copy and execute this script on the server where you want to install the Oleria PD Agent.
## Install the Oleria PD Agent
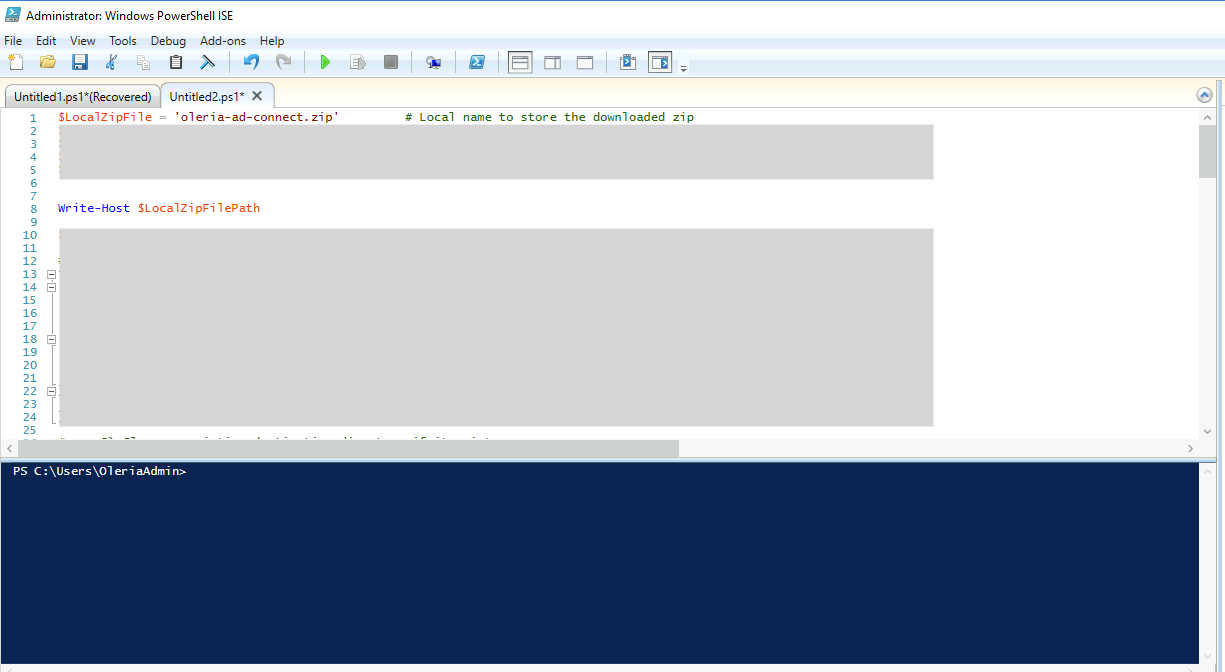
Log in to the machine, open PowerShell with administrator privileges, and run the script copied from the previous section.
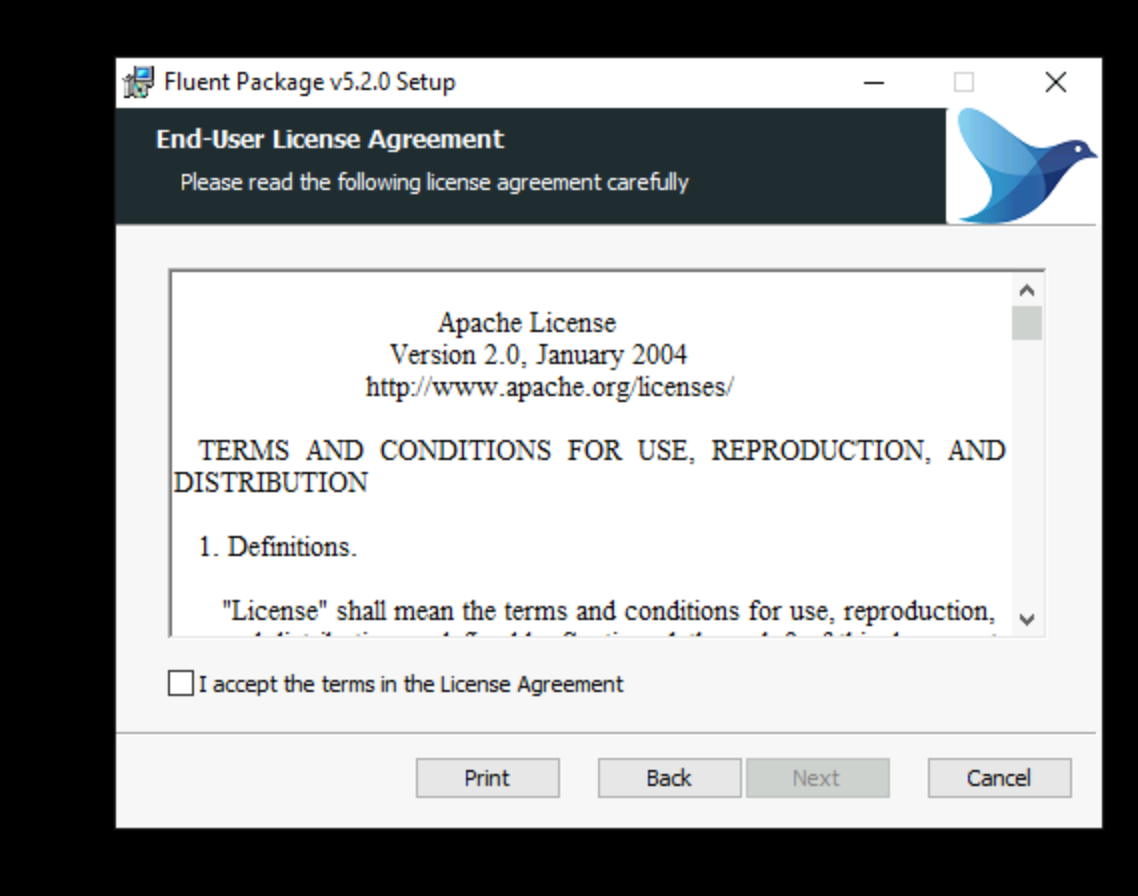
You will see the Fluentd installation process. Accept the license terms and select **Next**.
Follow any subsequent prompts to complete the installation.
Before proceeding with the agent installation, update the Fluentd configuration file using the script below. This ensures environment variables are set correctly and logs are sent to the desired location.
```xml theme={null}
####
## Fluentd Configuration File
####
log_level debug
rotate_age 30
#### SOURCES ####
@type syslog
port 514
bind 0.0.0.0
protocol_type udp
tag ping.directory.access
#### OUTPUTS ####
@type file
path "#{ENV['FLUENT_FILE_PATH']}/${tag}.logs_%Y%m%d%H%M%S.json"
append true
store_as json
format json
include_time_key true
time_key time
@type file
path "#{ENV['FLUENT_BUFFER_PATH']}"
timekey "#{ENV['FLUENT_TIMEKEY']}"
timekey_wait "#{ENV['FLUENT_TIMEKEY_WAIT']}"
chunk_limit_size "#{ENV['FLUENT_CHUNK_LIMIT']}"
timekey_use_utc "#{ENV['FLUENT_USE_UTC']}"
flush_interval "#{ENV['FLUENT_FLUSH_INTERVAL']}"
flush_at_shutdown "#{ENV['FLUENT_FLUSH_AT_SHUTDOWN']}"
```
Accept the license terms and select **Next**.
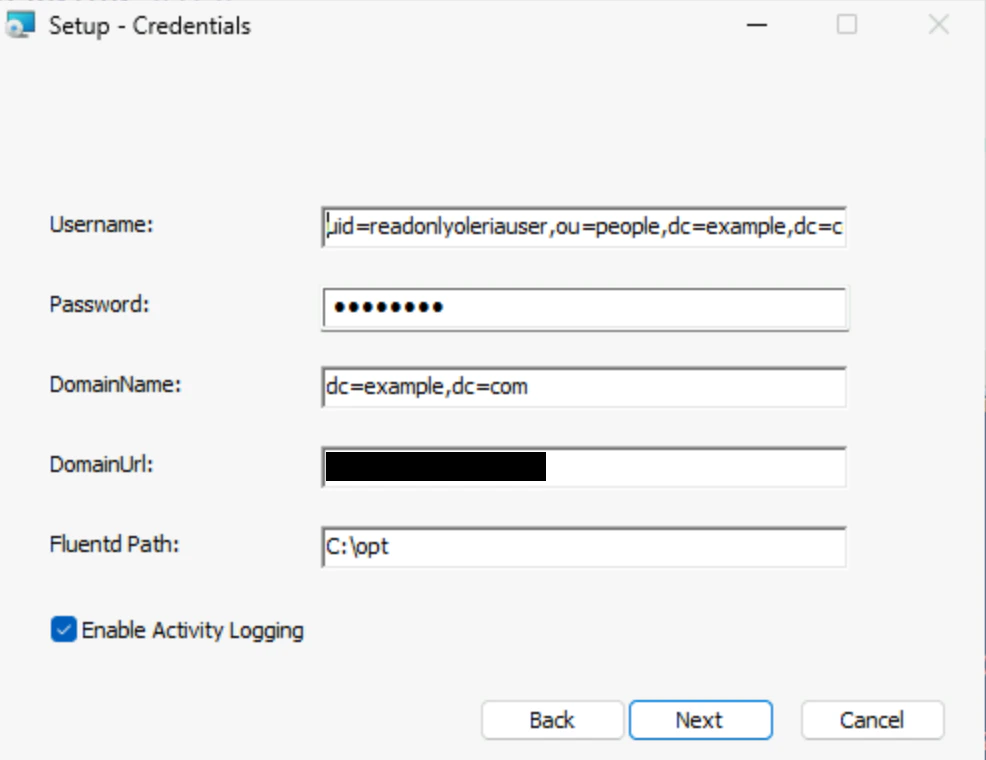
On the next page, provide the following:
* **Username** - the service account name created above
* **Password** - the service account password
* **DomainName** - your domain name (for example, if your domain is `example.local`, provide `dc=example,dc=local`)
* **DomainUrl** - your domain controller IP address
* **Fluentd Path** - the path where you installed Fluentd in the previous step
* **Activity Enabled Checkbox** - enable this only if Fluentd is installed and its path has been correctly provided
Select **Next** and follow the remaining prompts to finalize the installation.
Once the installation is completed, you will see an **OleriaPDConnectAgent** service in the services list.
## Verify the Integration
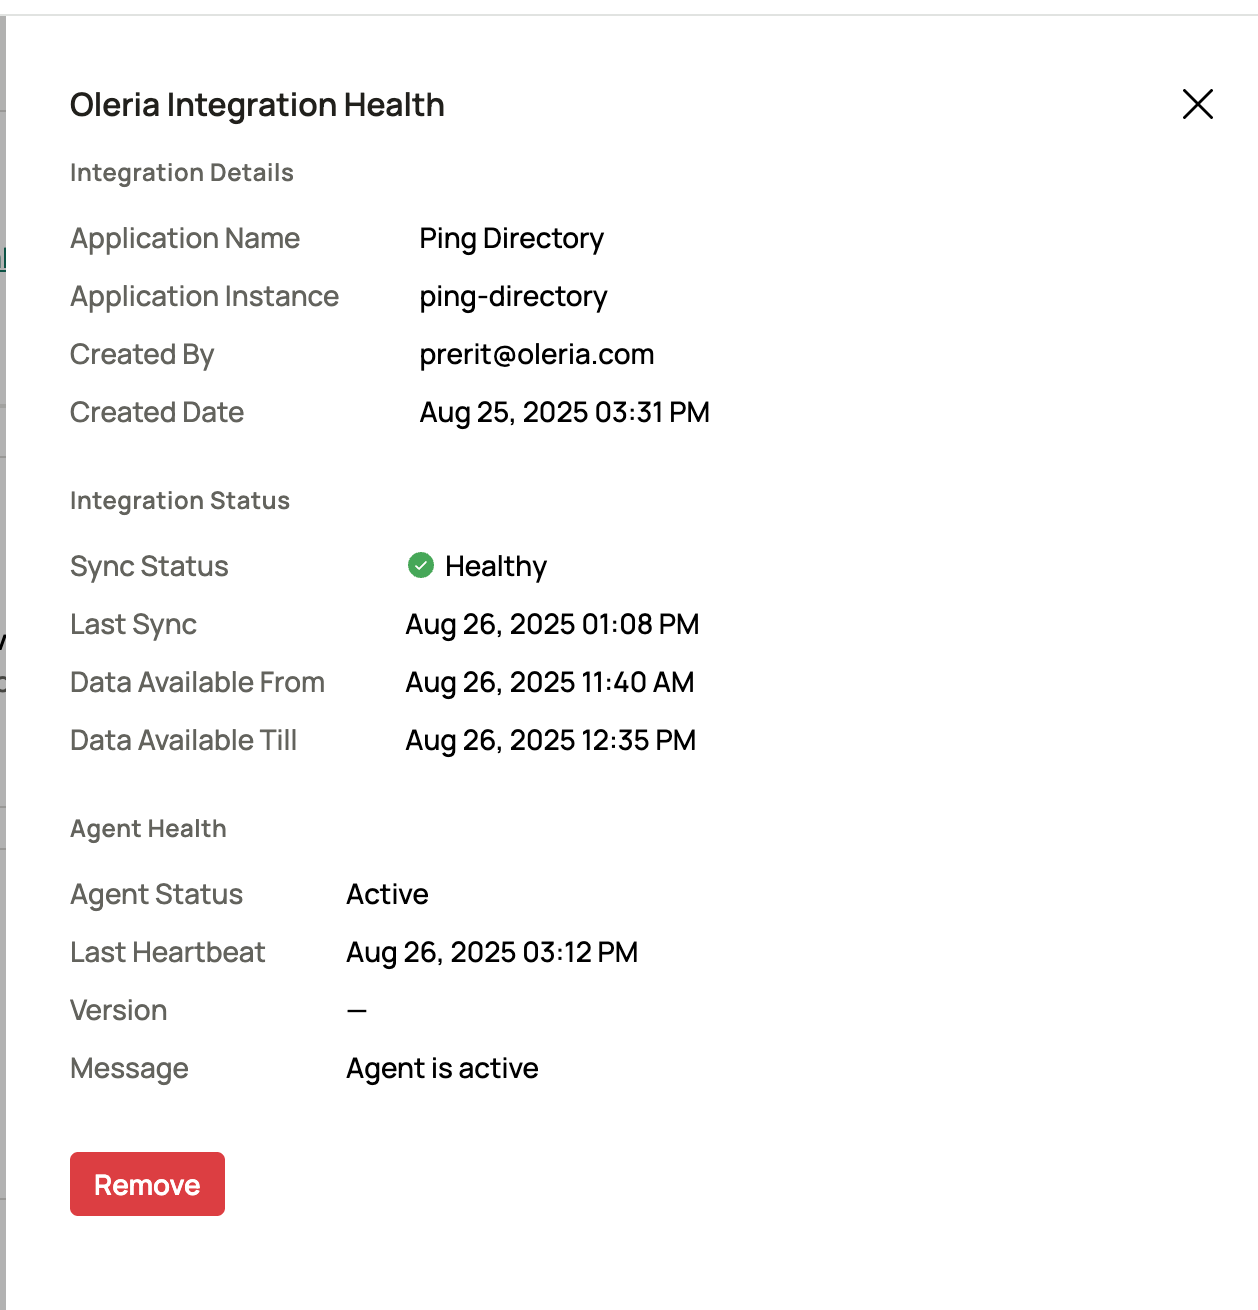
Log in to your workspace → **Connected Integrations** → **Ping Directory** → select **View Details** to open the side pane and view the agent health status.
## Contact us
For questions about this integration, contact us at [support@oleria.com](mailto:support@oleria.com).
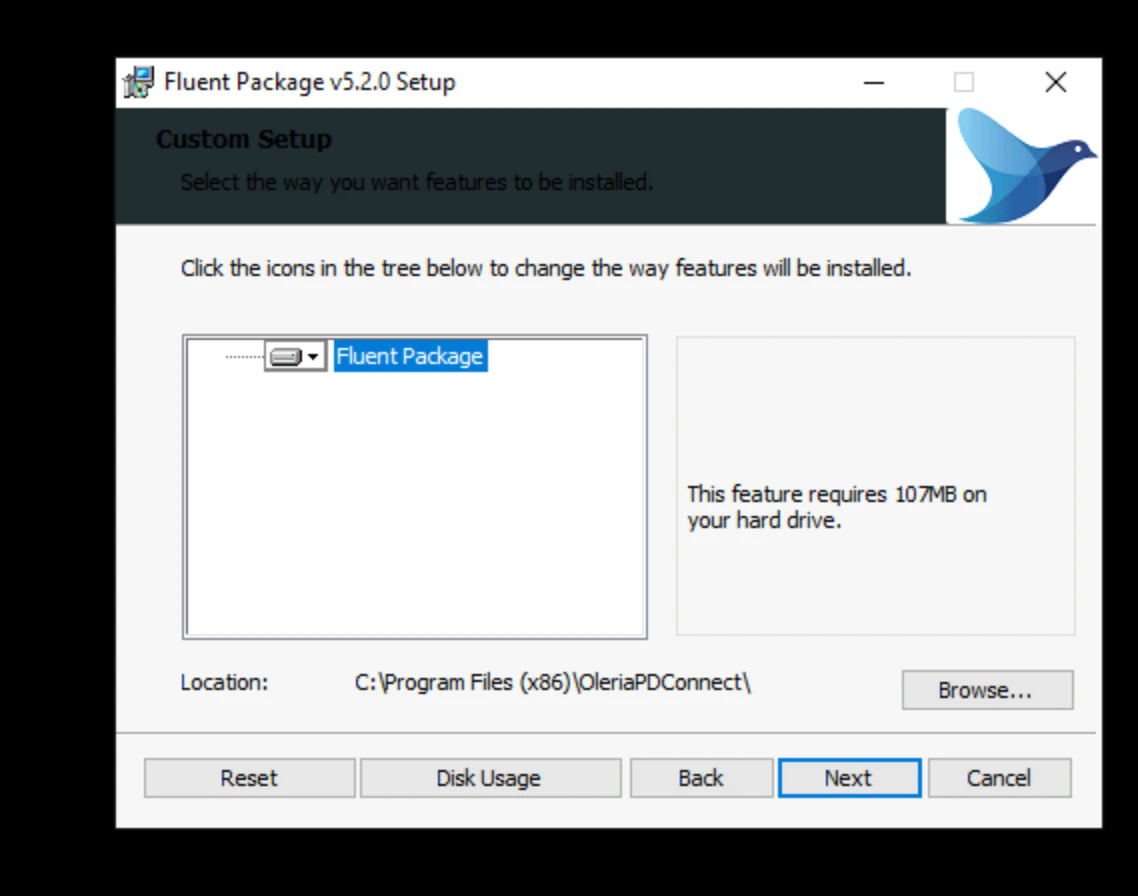 Follow any subsequent prompts to complete the installation.
Before proceeding with the agent installation, update the Fluentd configuration file using the script below. This ensures environment variables are set correctly and logs are sent to the desired location.
```xml theme={null}
####
## Fluentd Configuration File
####
Follow any subsequent prompts to complete the installation.
Before proceeding with the agent installation, update the Fluentd configuration file using the script below. This ensures environment variables are set correctly and logs are sent to the desired location.
```xml theme={null}
####
## Fluentd Configuration File
####
 Select **Next** and follow the remaining prompts to finalize the installation.
Once the installation is completed, you will see an **OleriaPDConnectAgent** service in the services list.
Select **Next** and follow the remaining prompts to finalize the installation.
Once the installation is completed, you will see an **OleriaPDConnectAgent** service in the services list.
 ## Contact us
For questions about this integration, contact us at [support@oleria.com](mailto:support@oleria.com).
## Contact us
For questions about this integration, contact us at [support@oleria.com](mailto:support@oleria.com).